Showing posts with label Cricut Imagine. Show all posts

Thursday, January 31, 2013

Imagine not cutting with CCR work around


Hi for those of you who don't know what a Cricut Imagine is it is a print and cut machine. There have been some issues with using this machine with the on line digital program that works with the other cricut machines and the machine has now been discontinued. Now my Imagine has been working fine except if I try to print and cut from Cricut Craft Room it will print but it looks as if it is going to cut then doesn't. Well today I decided to just cut from CCR and No that didn't work so I put the mat that had printed in the Imagine into the E2 and told CCR to cut it on the E2. The picture above is the negative and the cut that I did. As you can see when the Imagine prints it has a bleed area and when the mat cut in the E2 it stayed withing this bleed are to cut. Now I do realise not everyone is a cricut-a-holic like me but for those of you who have both machines this is fabulous as I can now colour my images that are CCR specific and print them then cut them on my E2
free glitter text and family website at FamilyLobby.com

Friday, April 1, 2011

A Miniture Tool Chest for my DH

I decided to see if spritzing would make this little tool chest look 'old' and here are the pics with it spritzed with SU silver spritz Inspired by the draws I set forth and made my DH a tool chest complete with tiny tools. The top lifts up and the 2 draws open and the bottom has a cupboard. The bottom has little feet to keep it up off the ground and all the tools were cut from the Cricut Handiman Lite cartridge at 1.5 inches on the Cricut Imagine. glitter - http://www.sparklee.com

Monday, March 21, 2011

60th Birthday


My Brother in law is turning 60 soon and I wanted to make 'something different' he's a real kiwi bloke so I knew it had to be very masculin oriented. Having made the star box on Crafters Anonymous I thought I would put a similar concept into being and cut out a 6 and a 0 and see if I could make a box out of the 60. Well this is what I came up with. Using the Disney Mickey Font I cut 2 6's in DSP and 2 6's in plain card stock, I did the same with the 0's. Then I decided the lid would be 1.5 iches and the bottom would be 5 cm I do swap between measurements (sorry). Then I just put them together. Well I used hide contour for the bottom pieces so they didn't cut the holes in the middle. and on the top holes I used plastic to have a see through top on the boxes. I used the Cricut Handyman Lite cartridge to cut the tools on the top, some ribbon I had in my stash and some Happy birthday stickers from a day I went to some 2 years ago.

Wednesday, March 16, 2011

Friends Card


This is a card I did with the Imagine. usingthe cupcake from best friends and wording from the cricut carts and colouring it on the imagine.

Sunday, March 13, 2011

Gypsy and Imagine talk to each other


This is a video on the Imagine linking with the gypsy and printing in colour

Thursday, January 20, 2011

Nana's Birthday


Its Nana's Birthday and she is 85 Wooo Hooo Nana

Monday, January 17, 2011

More Lil Critters


Mushroom on Shift pg 32 Badger pg 33


Squirrel pg 32 Snake pg 30


And this is Duck on pg 31 and this is all of them. Critters cut at 2 inches

Fixing problems by inking edges


When I cut these on the Imagine I again noticed that the white edges show so after my last post decided to show the difference that inking the edges makes. In the pics above you can see I have started to ink the top but the bottom you can see the white showing on the bottom edge. The pic below is once I have inked it all the way round. I inked the mushroom in black as I wanted to give it some extra dimention.


Here on the top of the mushroom the Imagine didn't quite line up so as I had used the RGB colours for a StampinUp colour I used the StampinUp ink to ink the edges and also to fill in the white space. If you are thinking it is not a good colour match as you can see the ink this is also how it looks on the real SU cardstock when you ink with the same colour. It is a nice way to add depth to a project (and to fix mistakes).


Bloopers and fixes (sometimes)


I thought I would do a post on my little Create a Critter cuts and I would explain how things sometimes don't turn out right.

Ok with Kitty above he's not too bad but as you can see you can see little bits of white round the edges of the cut. This is because I didn't trim some of it and secondly I cut these with the imagine using white cardstock and colouring it with the Imagine. This can be fixed if you ink the edges before putting the little critter together and carefully either sanding the edges or triming with fine sissors. These little critters are 2 inches tall so although the photos pic up the inacuracies when you look at them they are not that easy to pick up.


Little Pig has a piece that I didn't quite get in his mouth which needs attention but I thought it interesting that this is the same critter taken on 2 different backgrounds. When making cards or pages the colours you use can enhance or detract from objects depending on background colours and sometimes its good to lay your things out and take a look at what different backgrounds do for the finished product.


Now frog needed a bit of a trim but the important thing here is his cheeks are black! that was because I got confused when colouring them on the Imagine and thought the circles were the owls eyes so made them black instead of pink. Also you can see I used a liquid glue and the glue has squeezed out from the cheek on the left and you can see it. It is not obvious at all when you look at the critter but it does show in the picture. Also I used 2 different colour greens on the Imagine and I had thought one was much paler but when they printed they are very close in colour. Some people do colour swatches with their Imagine to check these things but I just go for it and look at the result.


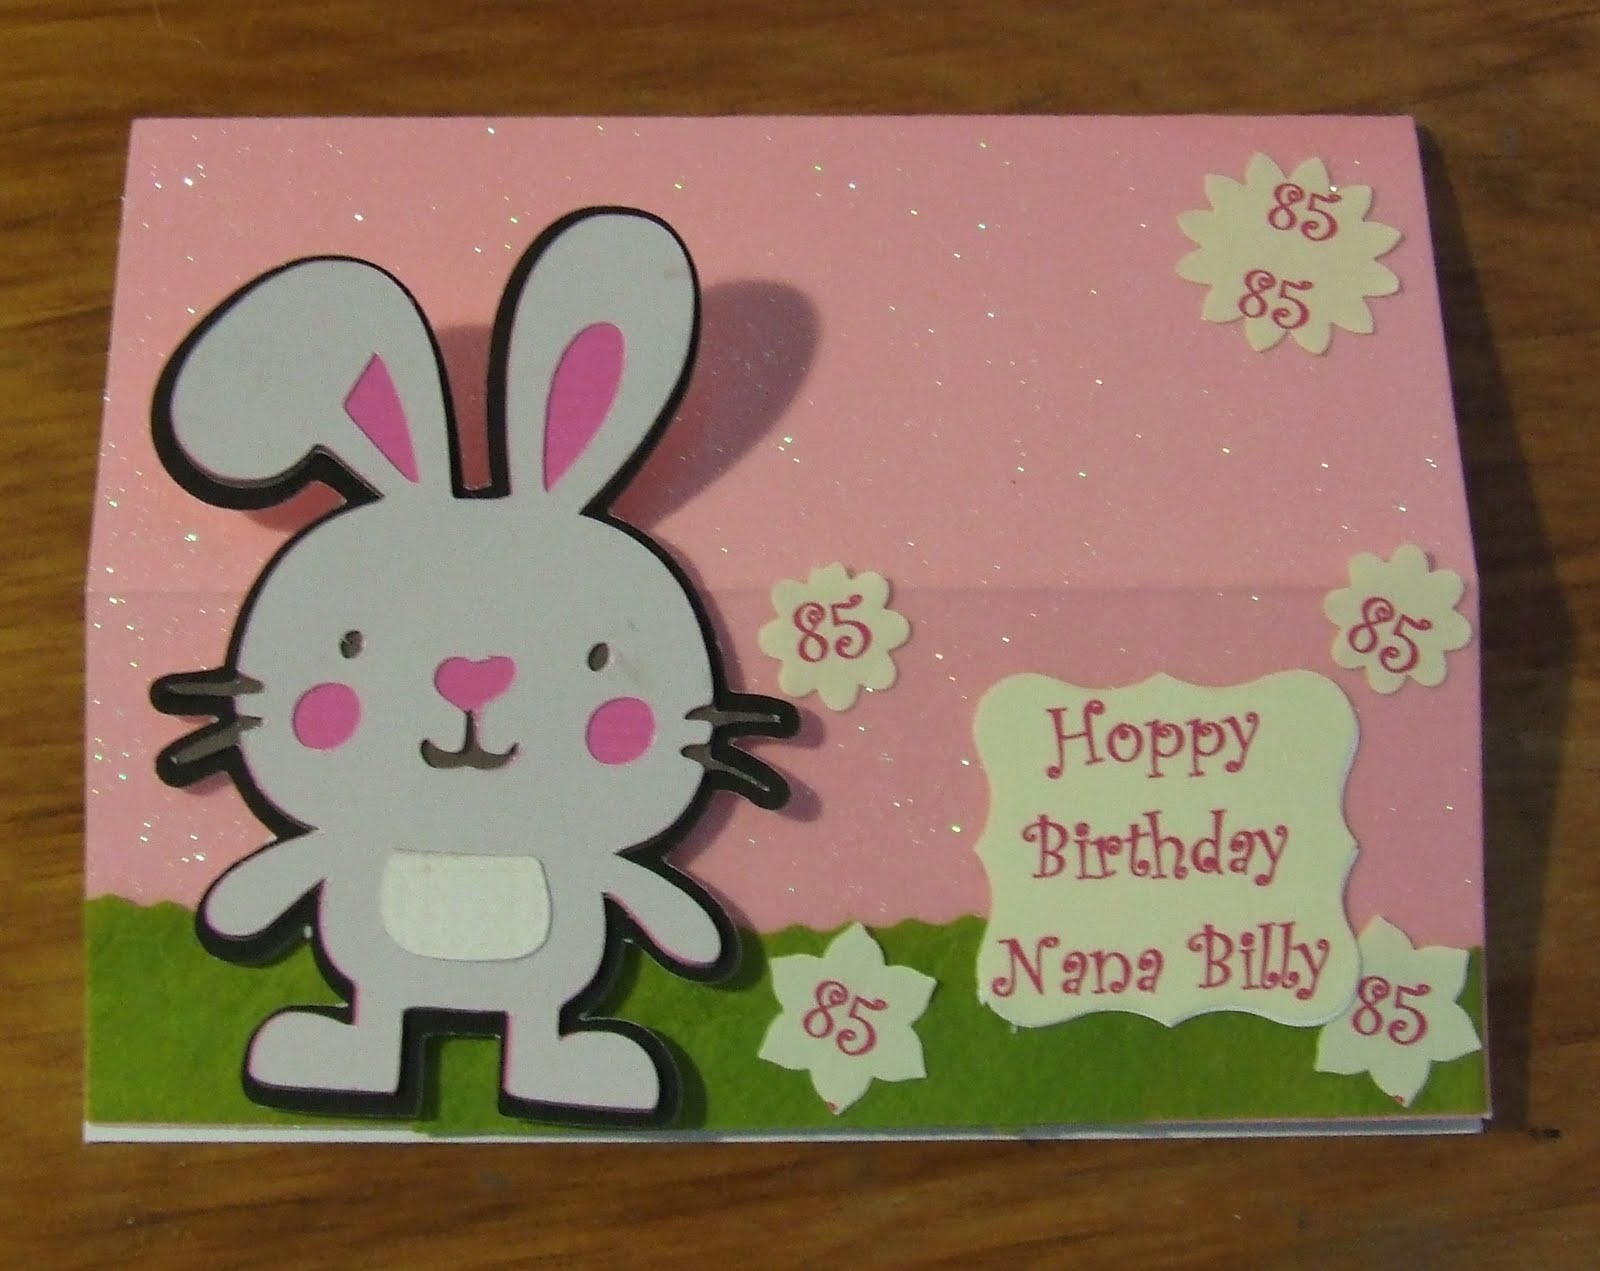
With Rabbit a little trimming wouldn't go amiss but again the background makes a big difference.


the different backgrounds here on little bear, pick up the different colours in the pattern I used. The green seems to highlight the green flowers the blue the blue ones. The pattern is very tiny and when just looking at the little bear it looks like a finely patterned paper. Check the pic of all of the critters below.


Now Owl was a blooper and a big one. I have made owl several times and always wondered why his wings don't fit so well and why one is bigger than the other. Well that is because they are not his wings they are the leaf part to the apple! It wasn't till I had a real good look at the picture that I realised this. Now again I put the beak on, and this time I need to move it slightly and I had liquid glue on it and the glue has changed the printed colour on the cardstock. This is something with the Imagine you have to realise that the colour is printed and will react to wetness of any sort. I didn't have the pieces lined up well so I thought I would ink the edges to camoflage it and then I thought I would put some ink round his beak. the blush on his cheeks seemed to turn out ok but I am not sure about round his beak. The areas where the glue was didn't pick up the ink quite the same.

I am being hyper critical but often when I see videos and pics of cricut cuts and they look so perfect, look like they go together so easily and they never have any problems. Having gone through all the little things that could be improved when you see them close up here is the pic of the same little critters and they don't actually look to bad at all, maybe that is why when I look at videos I don't see the flaws and problems. I just thought I would post this as so many people say to me how much difficulty they have making things that are perfect. The critters have been cut at 2 inches and the photo is taken on a 6x6 piece of paper.


Hope you enjoy my critters as my goal is to make all of them.