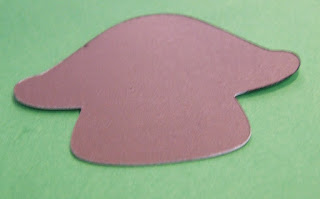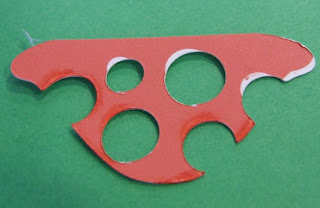

When I cut these on the Imagine I again noticed that the white edges show so after my last post decided to show the difference that inking the edges makes. In the pics above you can see I have started to ink the top but the bottom you can see the white showing on the bottom edge. The pic below is once I have inked it all the way round. I inked the mushroom in black as I wanted to give it some extra dimention.

Here on the top of the mushroom the Imagine didn't quite line up so as I had used the RGB colours for a StampinUp colour I used the StampinUp ink to ink the edges and also to fill in the white space. If you are thinking it is not a good colour match as you can see the ink this is also how it looks on the real SU cardstock when you ink with the same colour. It is a nice way to add depth to a project (and to fix mistakes).


No comments:
Post a Comment