Saturday, December 31, 2011

more pencil toppers


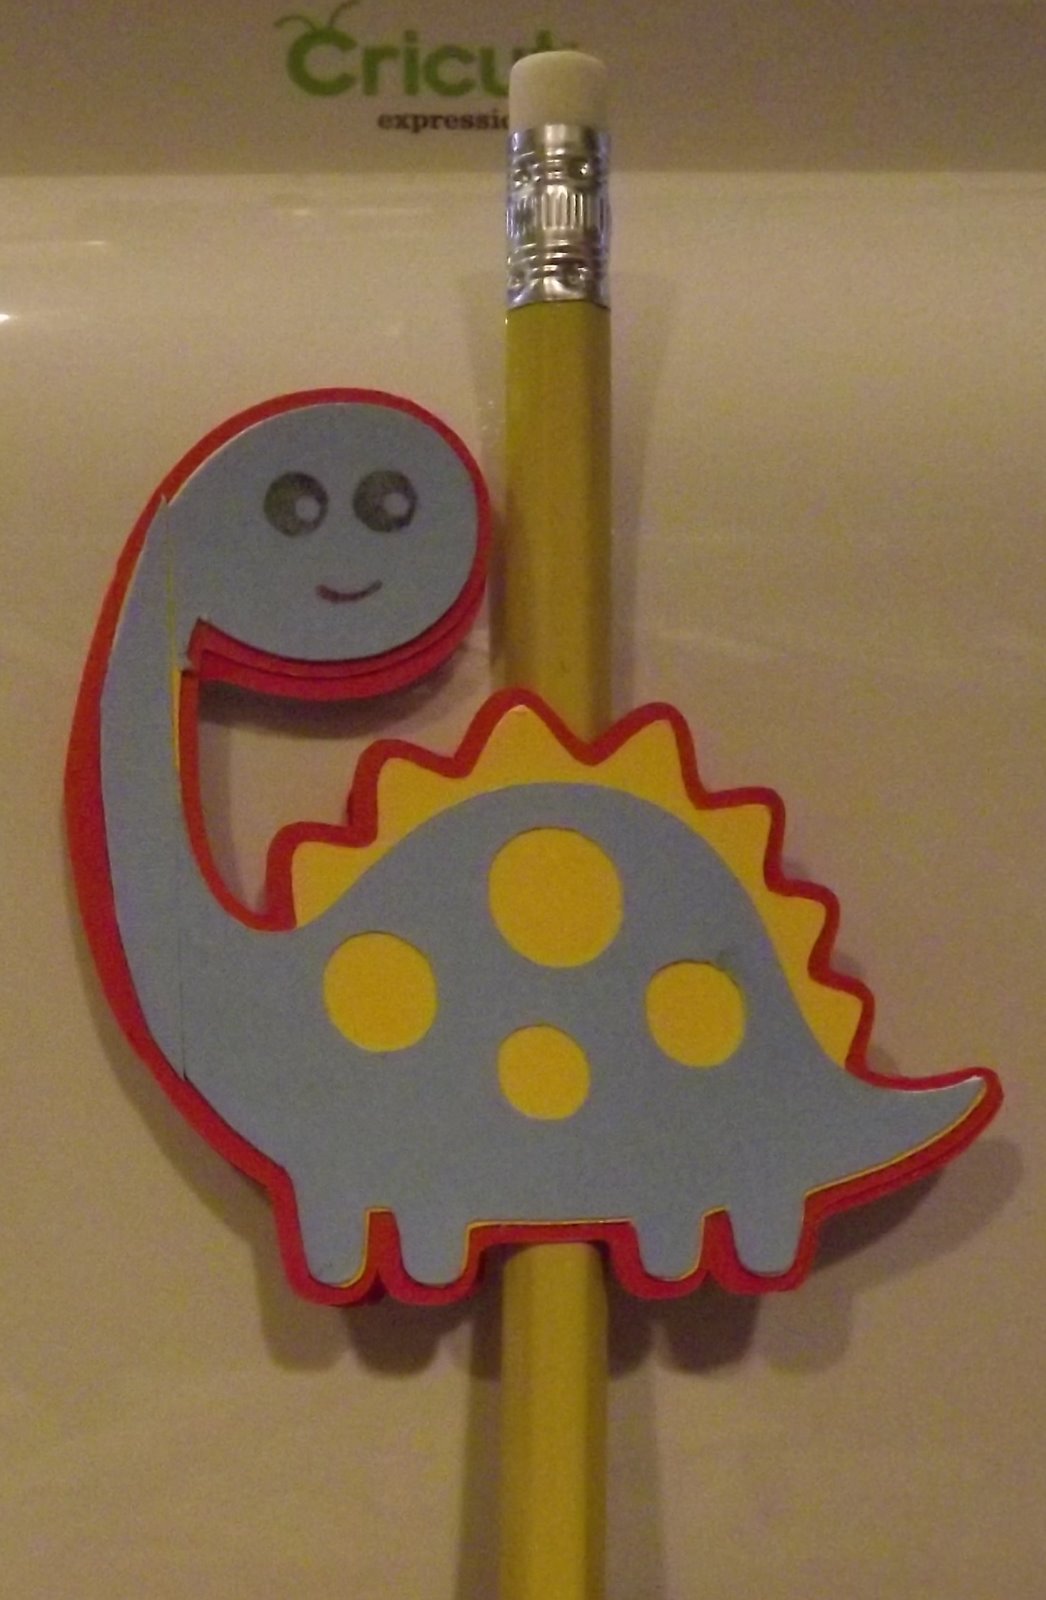
Cute little dino is cut at 2 inches this time and I have glue lines holding the elastic to itself and the cut outs. Just waiting to see if it holds together for a few days.

glitter - http://www.sparklee.com

Posted by Picasa

Friday, December 30, 2011

Pencil Toppers


Now aren't these the cutest little dino's you ever saw. I cut them at 2.5 inches from Cricut Create a Crtiier cart and put them round a pencil.

glitter - http://www.sparklee.com

Posted by Picasa

Wednesday, December 28, 2011

Cone

I have not blogged for a bit as I have been unwell and ended up in hospital again having IV antibiotics. That is my third time in hospital in four months so I hope that when they say things happen in threes I have had my 3. Well enough -Look at this cute little cone I cut from Cricut Cartridge "Cake Everyday Sampler" As this is a compliation cartridge this cut is also on "Tie the Knot" as well.


On this cart there is a 1/4 circle that is scalloped and when I cut it, it makes a cone shape. Oh wow that is fantastic as I was looking for something just like this. Well I cut it at 4 inches and glued the side to make the cone. Then it has 2 little holes that just beconed to have ribbon threaded through them and this could be used to hang the cone but I thought it would look cute with a lid so out came an SU punch the scallop circle 2 3/8 and yep it was just right to make a lid so I put 2 little holes in it and tied the lid to the cone with ribbon.

Now as we all know you have to have a tag or 2 so I decided to make "thanks so much" as a tag from Cricut "Tear Drop" Well this cut out the words in the tag so I cut a background but then of course I had the words that had been cut out as well so not wanting to be wasteful I made a 2nd tag with the cut out words. Now I cut this at about 2 inches high so the actual letter stroke width is about 1-1.5mm. now I can usually chage my measurements to inches but 1.5mm is about 1/16th inch so it is very thin. But I managed to glue it with the trusty zig 2 way and then fill the cone with Hershey's kisses.

A nice way of saying Thank you without a card.


glitter - http://www.sparklee.com

Posted by Picasa

Thursday, December 15, 2011

WOW fridge magnets


My daughter asked me if I could make a fridge magnet. Well I had some magnetic paper that goes through the computer so I thought ok I will give it a go. Well I printed the magnetic paper on my Cricut Imagine and added a small piece to the side as it has a 12x12 mat and I was only doing A4 size but that worked out well and I now have a piece of paper that is double sided. Then I put the magnetic paper through the ordinary HP printer and had a document in word with the pictures and words on. Now I had it all printed and was wondering what to do to make it look a bit more than a square cutout. Well out jumped a puch from SU and I used the 2 3/8 inch scallop punch for Eeyore then I got out the big shot and the dies from SU and used the round scallop duo the scallop square and the top note die. the square scallop with the round scallop photo frame is where I cut Eeyore out and then put it through the square scallop again. Although Tigger looks oval the piece wasn't big enough for the round scallop so I put it through twice lining up the scallops and it looks oval. These are sooo cute I love them and it took me about an hour to do the lot and I know Tyler my DGD will love playing with the fridge magnets of pooh and friends. I hope my DD likes her fridge magnet that she wants for one of her colleagues. Just as well it is a secret santa friend.
Hope you enjoy these.

glitter - http://www.sparklee.com

Posted by Picasa